In this wxPython article we want to learn How to Create wxPython Button with wx.Button , wxPython is popular GUI library for Python that allows developers to create powerful and interactive user interfaces for their applications. one of the most commonly used widgets in wxPython is button and it is used to trigger an action when clicked by the user. in this article we want to learn how to create wxPython button using the wx.Button class.
How to Create wxPython Button with wx.Button
First of all we need to import wxPython module
|
1 |
import wx |
After that we need to create wx.Frame, which is top level window that contains all other GUI components. you can create wx.Frame by instantiating wx.Frame class and specifying parent window, title and size.
|
1 2 |
app = wx.App() frame = wx.Frame(None, title='geekscoders.com', size=(400, 300)) |
Next step is to create wx.Button instance. you can create a button by instantiating wx.Button class and specifying parent window, label and position.
|
1 |
button = wx.Button(frame, label='Click me', pos=(50, 50)) |
And finally we are going to bind an event to wx.Button. an event is a user action such as mouse click that triggers a response from the application. you can bind an event to wx.Button by calling Bind() method on the button object and specifying the event type and function to be called when event is triggered.
|
1 2 3 4 |
def on_button_click(event): print('Button clicked') button.Bind(wx.EVT_BUTTON, on_button_click) |
Lastly we need to run our application. you can do this by calling Show() method on the frame object and then calling MainLoop() method on the app object.
|
1 2 |
frame.Show() app.MainLoop() |
This is the complete code for this article
|
1 2 3 4 5 6 7 8 9 10 11 12 13 14 15 16 17 18 19 20 |
import wx class MyFrame(wx.Frame): def __init__(self, parent, title): super(MyFrame, self).__init__(parent, title=title, size=(400, 300)) panel = wx.Panel(self) button = wx.Button(panel, label='Click me', pos=(50, 50)) button.Bind(wx.EVT_BUTTON, self.on_button_click) def on_button_click(self, event): print('Button clicked') if __name__ == '__main__': app = wx.App() frame = MyFrame(None, title='geekscoders.com') frame.Show() app.MainLoop() |
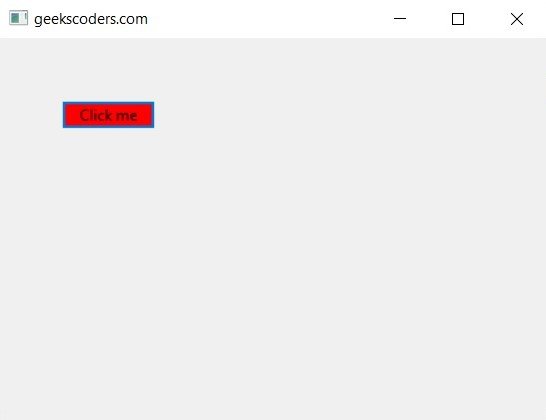
If you run the code we will see wxPython button in our GUI Window

Also you can add styles to wxPython Button, in wxPython you can add style to a button using wx.Button class SetWindowStyleFlag() method. SetWindowStyleFlag() method takes an integer value that represents the style options you want to set for button.
These are some common style options you can use:
| wx.BU_LEFT | Aligns the label to the left. |
| wx.BU_RIGHT | Aligns the label to the right. |
| wx.BU_TOP | Aligns the label to the top. |
| wx.BU_BOTTOM | Aligns the label to the bottom. |
| wx.BU_EXACTFIT | Sizes the button to fit the label. |
| wx.BU_NOTEXT | Hides the label. |
| wx.BU_AUTODRAW | Automatically draws the button. |
In wxPython you can change the color of a button using SetBackgroundColour() method. SetBackgroundColour() method takes wx.Colour object that represents new background color of the button.
|
1 2 3 4 5 6 7 8 9 10 11 12 13 14 15 16 17 18 19 20 |
import wx class MyFrame(wx.Frame): def __init__(self, parent, title): super(MyFrame, self).__init__(parent, title=title, size=(400, 300)) panel = wx.Panel(self) button = wx.Button(panel, label='Click me', pos=(50, 50)) button.SetBackgroundColour(wx.Colour(255, 0, 0)) def on_button_click(self, event): print('Button clicked') if __name__ == '__main__': app = wx.App() frame = MyFrame(None, title='geekscoders.com') frame.Show() app.MainLoop() |
Run the complete code and this will be the result

