In this Kivy Tutorial we are going to talk about Kivy TextInput, the TextInput widget provides a box for editable plain text. unicode, multiline, cursor navigation, selection and clipboard features are supported. the TextInput uses two different coordinate systems:
- (x, y) – coordinates in pixels, mostly used for rendering on screen.
- (row, col) – cursor index in characters / lines, used for selection and cursor movement.
First we want to create our Kivy TextInput using Python code, and you can use kivy.uix.textinput for this, so this is the complete code.
|
1 2 3 4 5 6 7 8 9 10 11 12 13 14 |
from kivy.app import App from kivy.uix.textinput import TextInput class TextWindow(App): def build(self): text_input = TextInput(font_size=50, multiline=False) return text_input if __name__ == "__main__": window = TextWindow() window.run() |
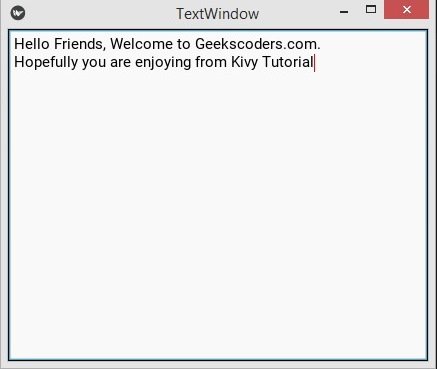
In the above code first we have created the object of TextInput, after that you can give the font size and we have made multiline to False, it means that we can not write multiline in the textinput, if you want Multiline than you can remove that.
Run the code and this is the result.
Now let’s create the TextInput using the kivy file, first of all create a new Python file and add the following codes in the file.
|
1 2 3 4 5 6 7 8 9 10 11 12 13 14 15 16 17 18 19 20 21 |
from kivy.app import App from kivy.uix.textinput import TextInput from kivy.uix.widget import Widget class MyTextInput(Widget): pass class TextWindow(App): def build(self): return MyTextInput() if __name__ == "__main__": window = TextWindow() window.run() |
Our first class extends from the Widget class, and TextInput is related to the Widget class, when you extends from the widget class it means that you can access to all widgets of kivy, and in the second class we have just returned our TextInput class.
This is our .kv file, and i have name the file textwindow.kv, make sure that this name should be similar to the main app class name, in my case it is TextWindow class.
|
1 2 3 4 5 6 7 8 9 10 |
#:kivy 1.10.0 <MyTextInput>: TextInput: width:root.width height:root.height #multiline:False |
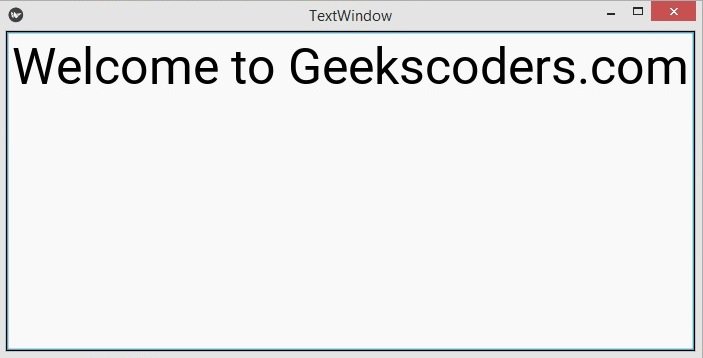
In the kivy file we have defined some rules for MyTextInput class, and we have added width and height for the Kivy TextInput.
Run the complete code and this is the result.