
In this Python article we want to learn about Python GUI Automation with PyAutoGUI Library,
so for this purpose we are going to use third party library that is called PyAutoGUI Library,
PyAutoGUI is a cross-platform GUI automation Python module for human beings. Used to
programmatically control the mouse & keyboard. by using GUI Automation we can create
programs that can control other applications by sending them virtual keystrokes and
mouse clicks. With GUI automation, your programs can do anything that a human user
sitting at the computer can do.
Installation
As i have already said that we are going to use PyAutoGUI library, so first of all you need to
install this library, you can simply use pip for the installation.
|
1 |
pip install PyAutoGUI |
OK now let’s create a simple code for moving our mouse.
|
1 2 3 4 5 6 |
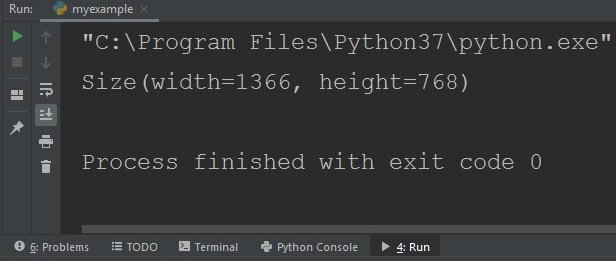
import pyautogui screenWidth, screenHeight = pyautogui.size() pyautogui.moveTo(screenWidth / 2, screenHeight / 2) print(pyautogui.size()) |
In the above code first we have imported our PyAutoGUI library and after that we have
found the screenWidth and screenHeght of our window by using pyautogui.size and after
that we have moved our mouse by using pyautogui.move() function.
Run the code and this is the result.
- Python Top 5 Game Libraries
- Python GUI Development Libraries
- Web Development Libraries in Python
- Python Top 6 Web Frameworks
Let’s create another example and move our mouse in a range, so you can use this code.
|
1 2 3 4 5 6 7 |
import pyautogui for i in range(10): pyautogui.moveTo(100, 100, duration=0.25) pyautogui.moveTo(200, 100, duration=0.25) pyautogui.moveTo(200, 200, duration=0.25) pyautogui.moveTo(100, 200, duration=0.25) |
Using this code we can move our mouse clock wise in a square manner. we have used the range function of python for this purpose, and we have used moveTo() function from PyAutoGUI for moving the mouse.
Sometimes you need to move your mouse relatively, for that you can use pyautogui.moveRel(). this function also takes three arguments: how many pixels to move horizontally to the right, how many pixels to move vertically downward, and (optionally) how long it should take to complete the movement.
|
1 2 3 4 5 6 7 |
import pyautogui for i in range(10): pyautogui.moveRel(100, 0, duration=0.25) pyautogui.moveRel(0, 100, duration=0.25) pyautogui.moveRel(-100, 0, duration=0.25) pyautogui.moveRel(0, -100, duration=0.25) |
Getting Mouse Position
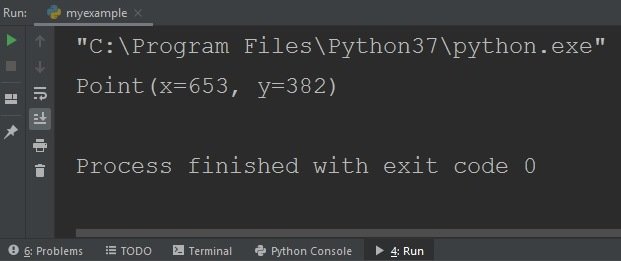
OK now we are going to get our mouse position using Python GUI Automation, we can find the mouse’s current position by calling the pyautogui.position() function, which will return a tuple of the mouse cursor’s x and y positions at the time of the function call
|
1 2 3 |
import pyautogui print(pyautogui.position()) |
Run the code and this is the result.
Now we are going to get the mouse coordinates and after that we want to print that.
|
1 2 3 4 5 6 7 8 9 10 |
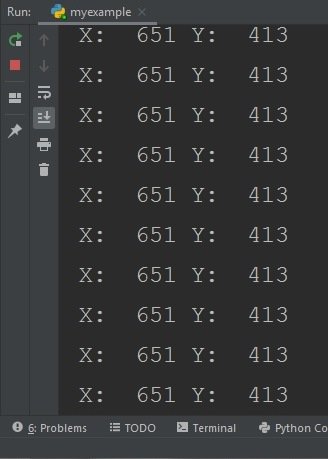
import pyautogui try: while True: x, y = pyautogui.position() positionStr = 'X: ' + str(x).rjust(4) + ' Y: ' + str(y).rjust(4) print(positionStr) except KeyboardInterrupt: print('\nDone') |
If you run the code you will see your mouse coordinates like this.
How to Click the Mouse in PyAutoGUI
for sending a virtual mouse click to your computer, we can use pyautogui.click() method. By default, this click uses the left mouse button and takes place wherever the mouse cursor is currently located.
|
1 2 3 |
import pyautogui pyautogui.click(10,5) |
we can pass x and y coordinates of the click as optional first and second arguments if you want it to take place somewhere other than the mouse’s current position. If you want to specify which mouse button to use, include the button keyword argument, with a value of ‘left’, ‘middle’, or ‘right’. you can do it like this.
|
1 2 3 |
import pyautogui pyautogui.click(10,5, button='right') |
Dragging the Mouse
Dragging means moving the mouse while holding down one of the mouse buttons. For example, you can move files between folders by dragging the folder icons, there are different methods in PyAutoGUI for dragging, we have pyautogui.dragTo(), pyautogui.dragRel(). these two functions drag the mouse cursor to new location or a location relative to its current one.
OK now we are going to to do a drawing using paint application, you can add and run this code.
|
1 2 3 4 5 6 7 8 9 10 11 12 13 14 15 16 17 18 19 20 |
import pyautogui, time time.sleep(5) pyautogui.click() distance = 200 while distance > 0: pyautogui.dragRel(distance, 0, duration=0.2) # move right distance = distance - 5 pyautogui.dragRel(0, distance, duration=0.2) # move down pyautogui.dragRel(-distance, 0, duration=0.2) #move left distance = distance - 5 pyautogui.dragRel(0, -distance, duration=0.2) #move up |
Open your paint application and run the code.

