In this lesson we want to learn about Python PySide6 Add Effects to Graphics, As for the different types of graphics in PySide6, there are several classes that can be used to display and manipulate graphics, including:
QGraphicsScene: Container for graphics items such as QGraphicsPixmapItem or QGraphicsRectItem.
QGraphicsView: Widget that displays QGraphicsScene.
QGraphicsItem: Base class for all graphics items in QGraphicsScene. this class provides methods for setting and getting properties of a graphics item such as its position, size and appearance.
QGraphicsPixmapItem: Graphics item that displays pixmap such as an image.
QGraphicsRectItem: Graphics item that displays rectangle.
QGraphicsEllipseItem: Graphics item that displays an ellipse.
QGraphicsPathItem: Graphics item that displays QPainterPath.
QGraphicsTextItem: Graphics item that displays text.
This is an example of how to add effects to graphics using PySide6 in Python
|
1 2 3 4 5 6 7 8 9 10 11 12 13 14 15 16 17 18 19 20 21 22 23 24 25 26 27 28 29 30 31 32 33 34 35 36 37 38 39 40 41 42 43 44 45 46 47 48 49 |
from PySide6.QtGui import QColor, QPixmap from PySide6.QtWidgets import QGraphicsBlurEffect, \ QGraphicsColorizeEffect, QGraphicsDropShadowEffect, \ QGraphicsOpacityEffect, QGraphicsScene, QGraphicsView,\ QGraphicsPixmapItem, QApplication class MyGraphicsView(QGraphicsView): def __init__(self): super().__init__() self.setWindowTitle("Add Effects - GeeksCoders.com") # Create new QGraphicsScene self.scene = QGraphicsScene(self) self.setScene(self.scene) # Create new QGraphicsPixmapItem and set its pixmap self.item = QGraphicsPixmapItem(QPixmap("icon.png")) self.scene.addItem(self.item) # Create a QGraphicsBlurEffect and set its blur radius self.blur_effect = QGraphicsBlurEffect() self.blur_effect.setBlurRadius(10) # Create a QGraphicsColorizeEffect and set its color self.colorize_effect = QGraphicsColorizeEffect() self.colorize_effect.setColor(QColor(255, 0, 0)) # Create a QGraphicsDropShadowEffect and set its properties self.drop_shadow_effect = QGraphicsDropShadowEffect() self.drop_shadow_effect.setColor(QColor(0, 0, 0)) self.drop_shadow_effect.setBlurRadius(5) self.drop_shadow_effect.setOffset(5, 5) # Create a QGraphicsOpacityEffect and set its opacity self.opacity_effect = QGraphicsOpacityEffect() self.opacity_effect.setOpacity(0.5) # Apply the effects to the item self.item.setGraphicsEffect(self.blur_effect) self.item.setGraphicsEffect(self.colorize_effect) self.item.setGraphicsEffect(self.drop_shadow_effect) self.item.setGraphicsEffect(self.opacity_effect) if __name__ == '__main__': app = QApplication([]) view = MyGraphicsView() view.show() app.exec() |
In this example we have defined class called MyGraphicsView that inherits from QGraphicsView. In the constructor we have created new QGraphicsScene and set it as the scene for the view using setScene(). We have also created QGraphicsPixmapItem with an image and add it to the scene.
Next we create several QGraphicsEffect objects including QGraphicsBlurEffect, QGraphicsColorizeEffect, QGraphicsDropShadowEffect and QGraphicsOpacityEffect. these effects are stored as instance variables of the MyGraphicsView class.
Finally, we apply the effects to the QGraphicsPixmapItem using the setGraphicsEffect() method, and then we show the view and start the event loop using QApplication.exec().
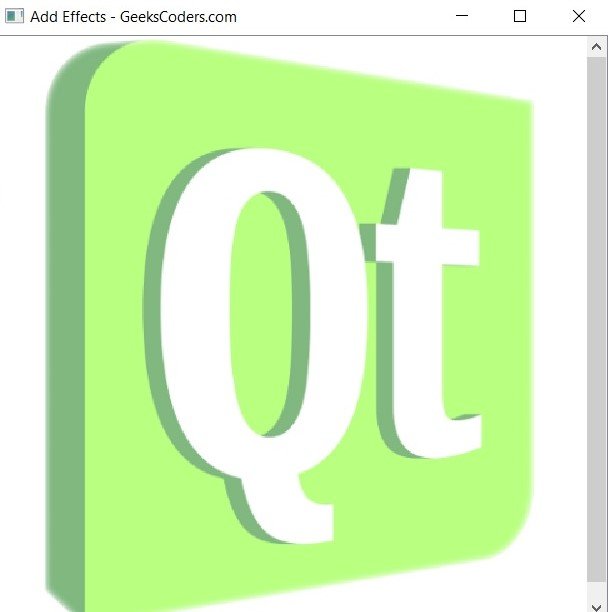
Run the complete code and this will be the result.
