In this wxPython GUI article we want to learn How to Style wxPython GUI Applications, so wxPython is popular and powerful GUI library for Python programmers. because it has different widgets and tools for creating GUI Applications, wxPython enables developers to create graphical user interfaces for their Python applications. in this article we want to walk you through the process of styling wxPython GUI applications.
First of all we need to install wxPython and we can use pip for that
|
1 |
pip install wxPython |
After installation of wxPython, now let’s create our basic simple GUI applications window with wxPython.
|
1 2 3 4 5 6 7 8 |
import wx app = wx.App() frame = wx.Frame(None, title='My First App') panel = wx.Panel(frame) text = wx.StaticText(panel, label='Hello geekscoders.com') frame.Show() app.MainLoop() |
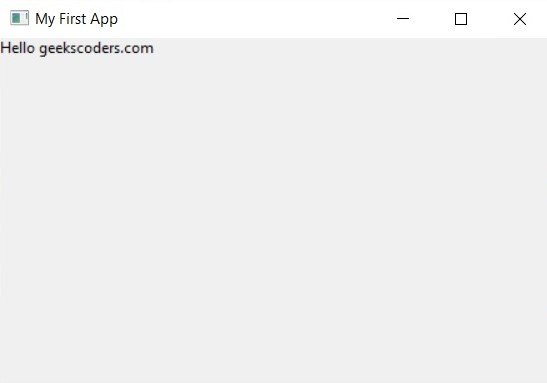
This code creates basic wxPython application that displays a window with a label. in this code wx.App() function creates new instance of the application, and wx.Frame() function creates new window. wx.Panel() function creates a panel that can be used to organize widgets in the window, and wx.StaticText() function creates label widget. and lastly app.MainLoop() function starts the main event loop of the application.
Run the code and this will be the output

How to Style wxPython GUI Applications
Now that we have basic wxPython application up and running, let’s learn that how we can style it. there are several ways to style wxPython GUI applications, such as changing font, color, size and style of the widgets.
Now let’s start from changing the font.
|
1 2 |
font = wx.Font(16, wx.DEFAULT, wx.NORMAL, wx.NORMAL) text.SetFont(font) |
Also you can change the color color of label
|
1 |
text.SetForegroundColour(wx.RED) |
You can change background color of a panel widget like this
|
1 |
panel.SetBackgroundColour(wx.YELLOW) |
Changing size of a window
|
1 |
frame.SetSize((500, 300)) |
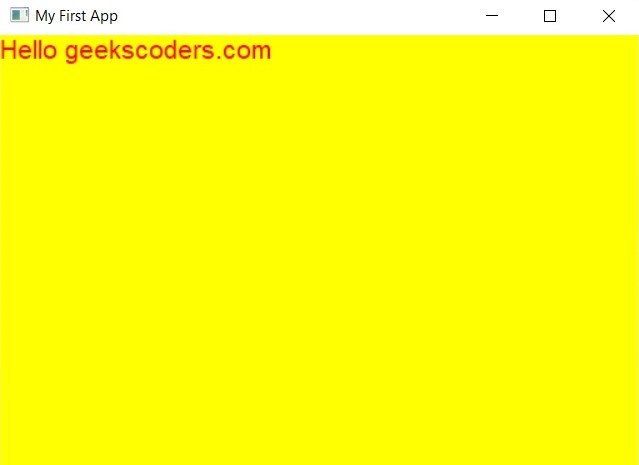
This is the complete code
|
1 2 3 4 5 6 7 8 9 10 11 12 13 14 15 16 |
import wx app = wx.App() frame = wx.Frame(None, title='My First App') panel = wx.Panel(frame) frame.SetSize((500, 300)) text = wx.StaticText(panel, label='Hello geekscoders.com') font = wx.Font(16, wx.DEFAULT, wx.NORMAL, wx.NORMAL) text.SetForegroundColour(wx.RED) panel.SetBackgroundColour(wx.YELLOW) text.SetFont(font) frame.Show() app.MainLoop() |
Run the code and this will be the output

Also you can add a button to your wxPython Applications and style that
|
1 2 3 4 5 6 7 8 9 10 11 12 13 14 |
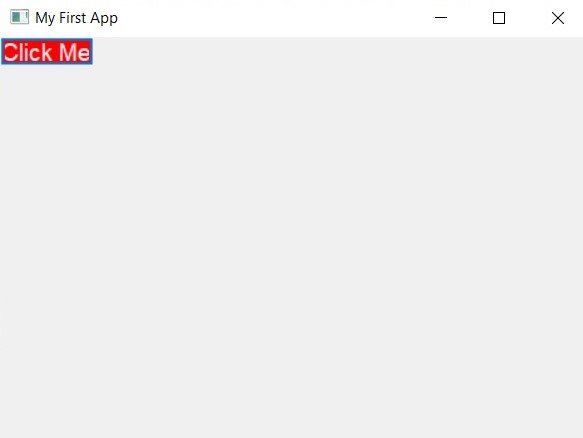
import wx app = wx.App() frame = wx.Frame(None, title='My First App') panel = wx.Panel(frame) frame.SetSize((500, 300)) button = wx.Button(panel, label='Click Me') button.SetBackgroundColour(wx.RED) button.SetForegroundColour(wx.WHITE) button.SetFont(wx.Font(14, wx.DEFAULT, wx.NORMAL, wx.NORMAL)) frame.Show() app.MainLoop() |
This is the result

Learn More on wxPython
- PyQt5 Vs wxPython
- PyQt6 Vs wxPython
- Building Python Cross Platform Applications with wxPython
- How to Integrate wxPython with other Python Libraries
- How to Work with Event Handlers with wxPython
- How to Integrate wxPython with Matplotlib
- How to Integrate Yahoo Finance API with wxPython
- How to Build Responsive GUI with wxPython
