In this PyQt6 OpenCV article we are going to learn How to Integrate PyQt6 with OpenCV, PyQt6 is popular Python binding for the Qt GUI toolkit and it allows developers to create rich desktop applications with user friendly interface. on the other hand OpenCV is powerful computer vision library that provides different algorithms for image and video processing. we can combine these two libraries and enable developers to build advance desktop applications that require image and video processing, in this article we want to learn how to integrate PyQt6 with OpenCV.
How to Integrate PyQt6 with OpenCV
First of all we need to install PyQt6 and OpenCV in Python
|
1 |
pip install PyQt6 |
|
1 |
pip install opencv-python |
So now after installation let’s create simple GUI window with PyQt6, also we will have PyQt6 QPushButton in the GUI window, this is the complete code.
|
1 2 3 4 5 6 7 8 9 10 11 12 13 14 15 16 17 18 19 20 21 22 23 24 25 26 27 28 29 |
import sys from PyQt6.QtWidgets import QApplication, QMainWindow, QLabel, QPushButton, QFileDialog class MainWindow(QMainWindow): def __init__(self): super().__init__() # create label to display image self.image_label = QLabel(self) self.image_label.setGeometry(10, 10, 400, 400) # create button to trigger image processing function self.button = QPushButton('Process Image', self) self.button.setGeometry(420, 10, 100, 30) self.button.clicked.connect(self.process_image) self.setWindowTitle('GeeksCoders - PyQt6 + OpenCV') self.setGeometry(100, 100, 530, 420) def process_image(self): # code for processing pass if __name__ == '__main__': app = QApplication(sys.argv) main_window = MainWindow() main_window.show() sys.exit(app.exec()) |
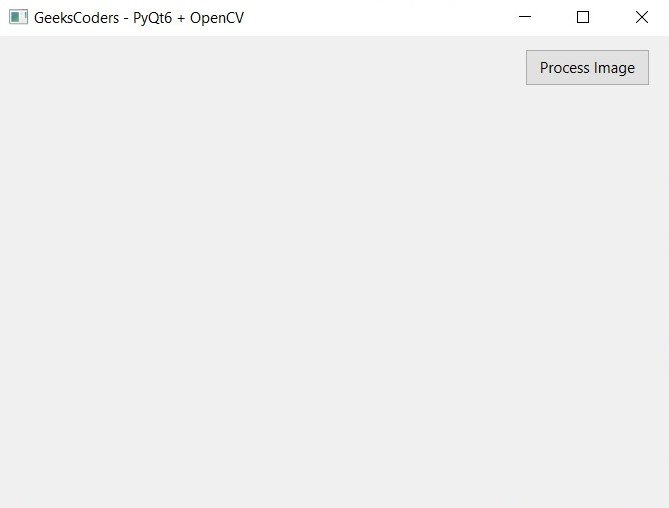
In the above code we have created QMainWindow object, which is the main window of the GUI. also we have added QLabel object to display the image and QPushButton object to trigger the image processing function. we have also defined a skeleton for the image processing function, which we will implement later.
Run the code and this is the result

Now let’s the add functionality to load and display an image on the GUI. we are going to use QFileDialog object to allow the user to select an image file. once the user selects an image file, we will load it using OpenCV and display it on the QLabel object.
|
1 2 3 4 5 6 7 8 9 10 11 12 13 14 15 16 17 18 19 20 21 22 23 24 25 26 27 28 29 30 31 32 33 34 35 36 37 38 39 40 41 42 43 44 45 46 47 48 49 50 51 52 53 54 |
import sys from PyQt6.QtWidgets import QApplication, QMainWindow, QLabel, QPushButton, QFileDialog from PyQt6.QtGui import QPixmap from PyQt6.QtCore import Qt import cv2 class MainWindow(QMainWindow): def __init__(self): super().__init__() # create label to display imag self.image_label = QLabel(self) self.image_label.setGeometry(10, 10, 400, 400) # create butto to triggr image processing function self.button = QPushButton('Process Image', self) self.button.setGeometry(400, 80, 100, 30) self.button.clicked.connect(self.process_image) # add a menu bar to the window menu_bar = self.menuBar() file_menu = menu_bar.addMenu('File') open_action = file_menu.addAction('Open') open_action.triggered.connect(self.open_image) self.setWindowTitle('GeeksCoders - PyQt6 + OpenCV') self.setGeometry(100, 100, 530, 420) self.image = None def open_image(self): # open file dialog to select an image file file_dialog = QFileDialog(self) file_dialog.setNameFilter('Image files (*.jpg *.png *.bmp)') if file_dialog.exec() == QFileDialog.DialogCode.Accepted: file_name = file_dialog.selectedFiles()[0] # read selected image file using OpenCV self.image = cv2.imread(file_name) # convert image to QPixmap object and # display it on the label pixmap = QPixmap(file_name).scaled(self.image_label.size(), aspectRatioMode=Qt.AspectRatioMode.KeepAspectRatio) self.image_label.setPixmap(pixmap) def process_image(self): if self.image is not None: # Work for image processing pass if __name__ == '__main__': app = QApplication(sys.argv) main_window = MainWindow() main_window.show() sys.exit(app.exec()) |
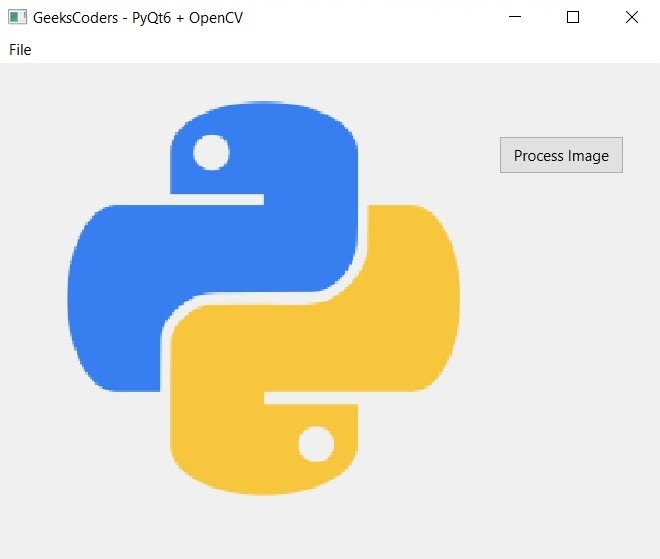
In the above code we have created menu bar, also we have added Open menu item to the Menubar, when the user click on the Open we are going to show a file dialog which allows the user to select an image file. when the user selects an image file, we read it using OpenCV’s imread function and display it on the QLabel object using a QPixmap object.
Run the code and open an image.

Now let’s implement the image processing in OpenCV with PyQt6, by clicking of the button we are going to convert the loaded image to gray scale.
|
1 2 3 4 5 6 7 8 9 10 11 12 13 14 15 16 17 18 19 20 21 22 23 24 25 26 27 28 29 30 31 32 33 34 35 36 37 38 39 40 41 42 43 44 45 46 47 48 49 50 51 52 53 54 55 56 57 58 59 60 61 62 |
import sys from PyQt6.QtWidgets import QApplication, QMainWindow, QLabel, QPushButton, QFileDialog from PyQt6.QtGui import QPixmap, QImage from PyQt6.QtCore import Qt import cv2 class MainWindow(QMainWindow): def __init__(self): super().__init__() # create label to display imag self.image_label = QLabel(self) self.image_label.setGeometry(10, 10, 400, 400) # create butto to triggr image processing function self.button = QPushButton('Process Image', self) self.button.setGeometry(400, 80, 100, 30) self.button.clicked.connect(self.process_image) # add a menu bar to the window menu_bar = self.menuBar() file_menu = menu_bar.addMenu('File') open_action = file_menu.addAction('Open') open_action.triggered.connect(self.open_image) self.setWindowTitle('GeeksCoders - PyQt6 + OpenCV') self.setGeometry(100, 100, 530, 420) self.image = None def open_image(self): # open file dialog to select an image file file_dialog = QFileDialog(self) file_dialog.setNameFilter('Image files (*.jpg *.png *.bmp)') if file_dialog.exec() == QFileDialog.DialogCode.Accepted: file_name = file_dialog.selectedFiles()[0] # read selected image file using OpenCV self.image = cv2.imread(file_name) # convert image to QPixmap object and # display it on the label pixmap = QPixmap(file_name).scaled(self.image_label.size(), aspectRatioMode=Qt.AspectRatioMode.KeepAspectRatio) self.image_label.setPixmap(pixmap) def process_image(self): if self.image is not None: # convert image to grayscale gray_image = cv2.cvtColor(self.image, cv2.COLOR_BGR2GRAY) # convert grayscale image to QPixmap object # and display it on the label pixmap = QPixmap.fromImage( QImage(gray_image, gray_image.shape[1], gray_image.shape[0], gray_image.strides[0], QImage.Format.Format_Grayscale8)) pixmap = pixmap.scaled(self.image_label.size(), aspectRatioMode=Qt.AspectRatioMode.KeepAspectRatio) self.image_label.setPixmap(pixmap) if __name__ == '__main__': app = QApplication(sys.argv) main_window = MainWindow() main_window.show() sys.exit(app.exec()) |
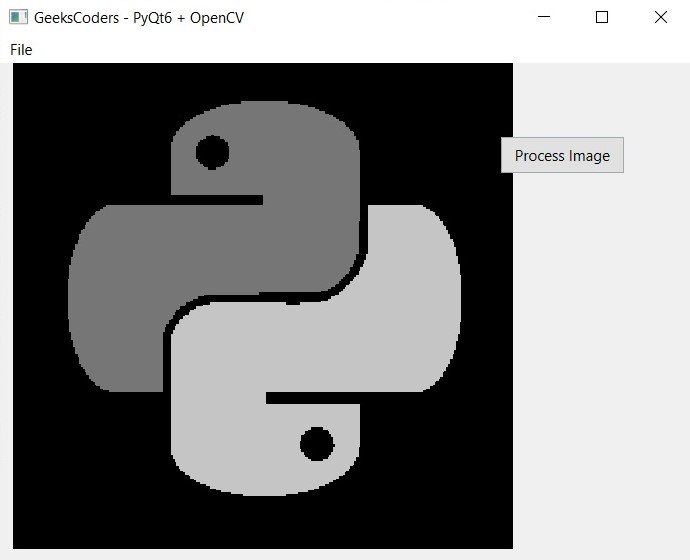
In the above code we have converted loaded image to grayscale using OpenCV’s cvtColor function. after that we convert the grayscale image to QImage object and create QPixmap object from it. at the end we display the converted image on the QLabel object.
If you run the complete code this will be the result.

Learn More on Python GUI
- How to Create Label in PySide6
- How to Create Button in Python & PySide6
- How to Use Qt Designer with PySide6
- How to Add Icon to PySide6 Window
- How to Load UI in Python PySide6
- How to Create RadioButton in PySide6
- How to Create ComboBox in PySide6
- How to Create CheckBox in Python PySide6
- Responsive Applications with PyQt6 Multithreading
- Event Handling in Python and PyQt6
- How to Use Stylesheets in Python PyQt6
